Browsing mods
The Browse page is where you find new mods to install. It pulls from Thunderstore (and from CurseForge for supported games) and shows everything in one merged list.
The list
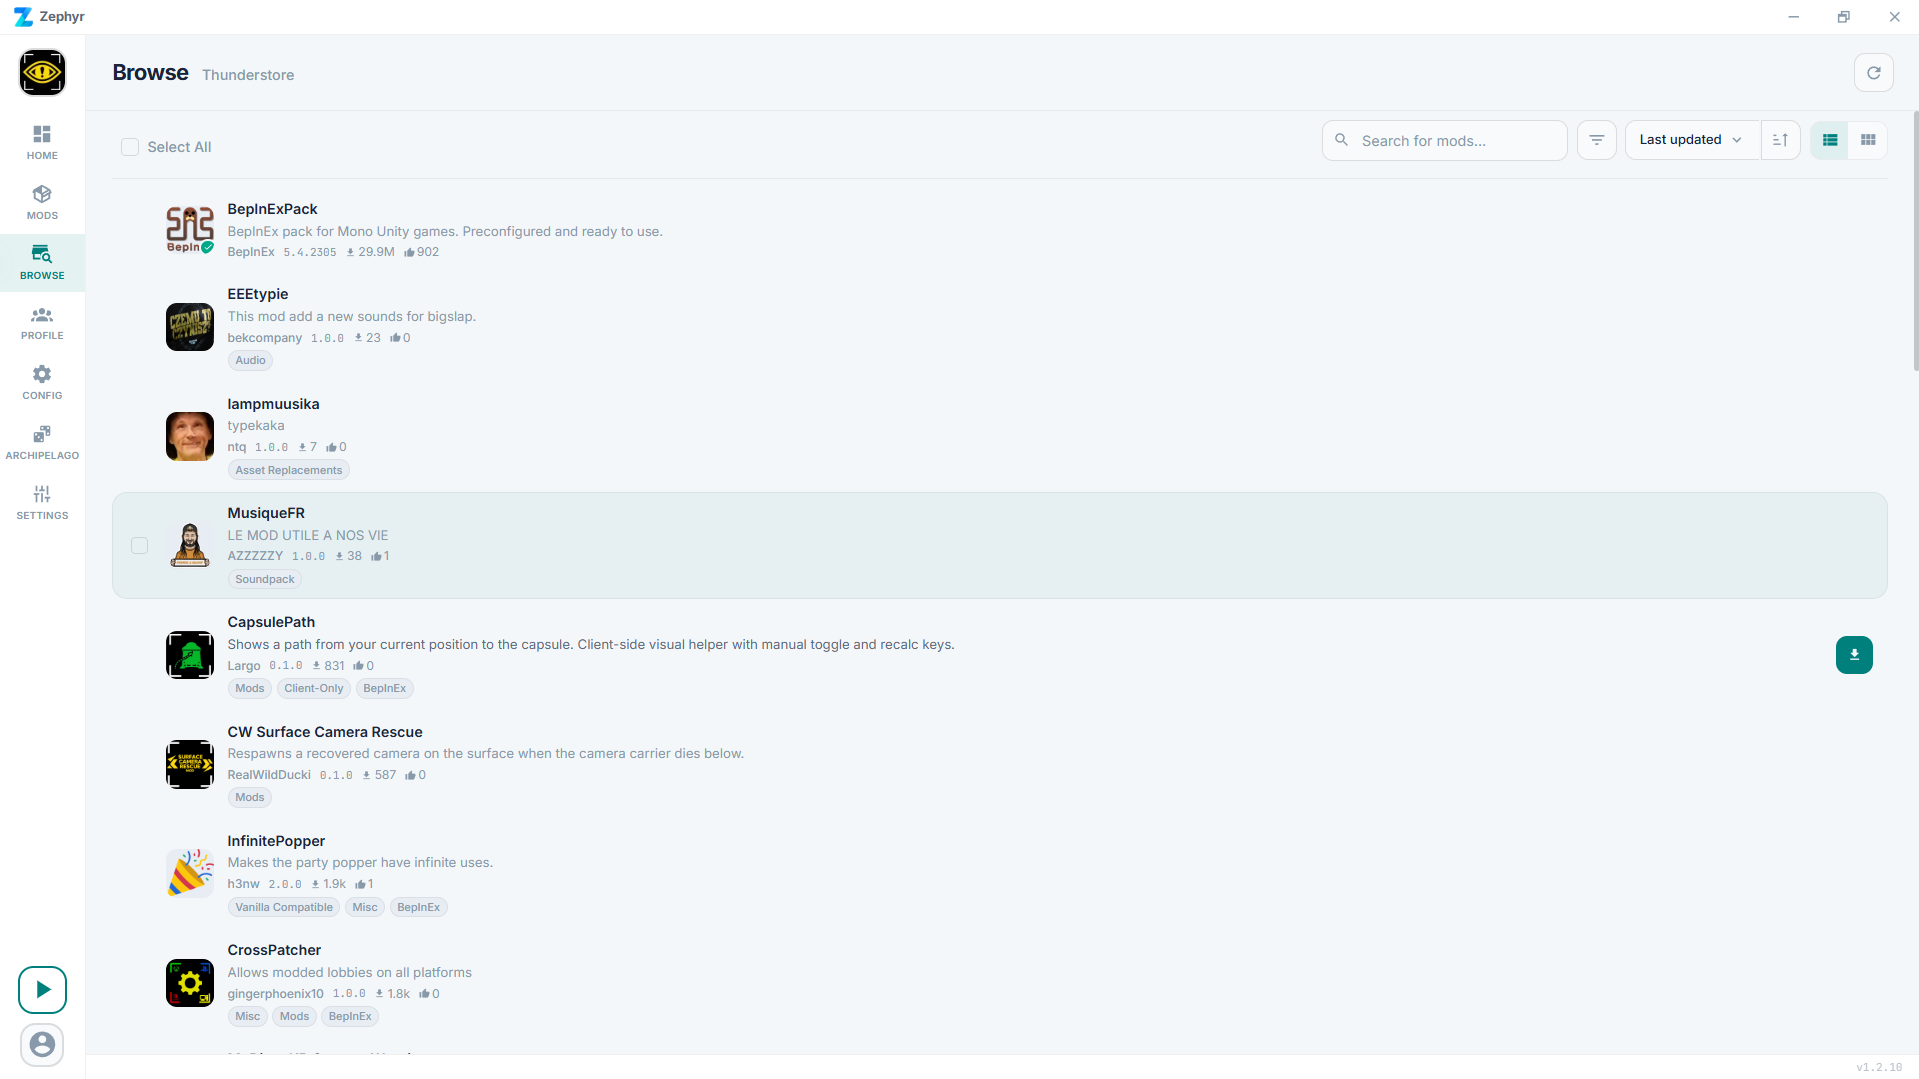
Each card shows the mod name, author, short description, version, download count, and rating. Clicking the card opens the detail panel.
Searching
The search box matches against the mod name, the author, and the description. Type a few characters and the list filters live.
Filters
The filter button opens a panel where you can:
- Include or exclude categories (cosmetic, gameplay, library, modpack, etc.).
- Toggle Deprecated mods on or off.
- Toggle NSFW mods on or off.
A separate list / grid toggle next to the filter button switches between the two layouts. Filters stack with the search box.
Sorting
The sort dropdown controls order. Available options:
- Last updated (default)
- Newest - first-published date
- Rating
- Downloads
You can also flip between ascending and descending.
Mod detail panel
Click any mod card to open the detail panel. You get:
- Full readme rendered.
- Version history with available versions.
- Dependency list.
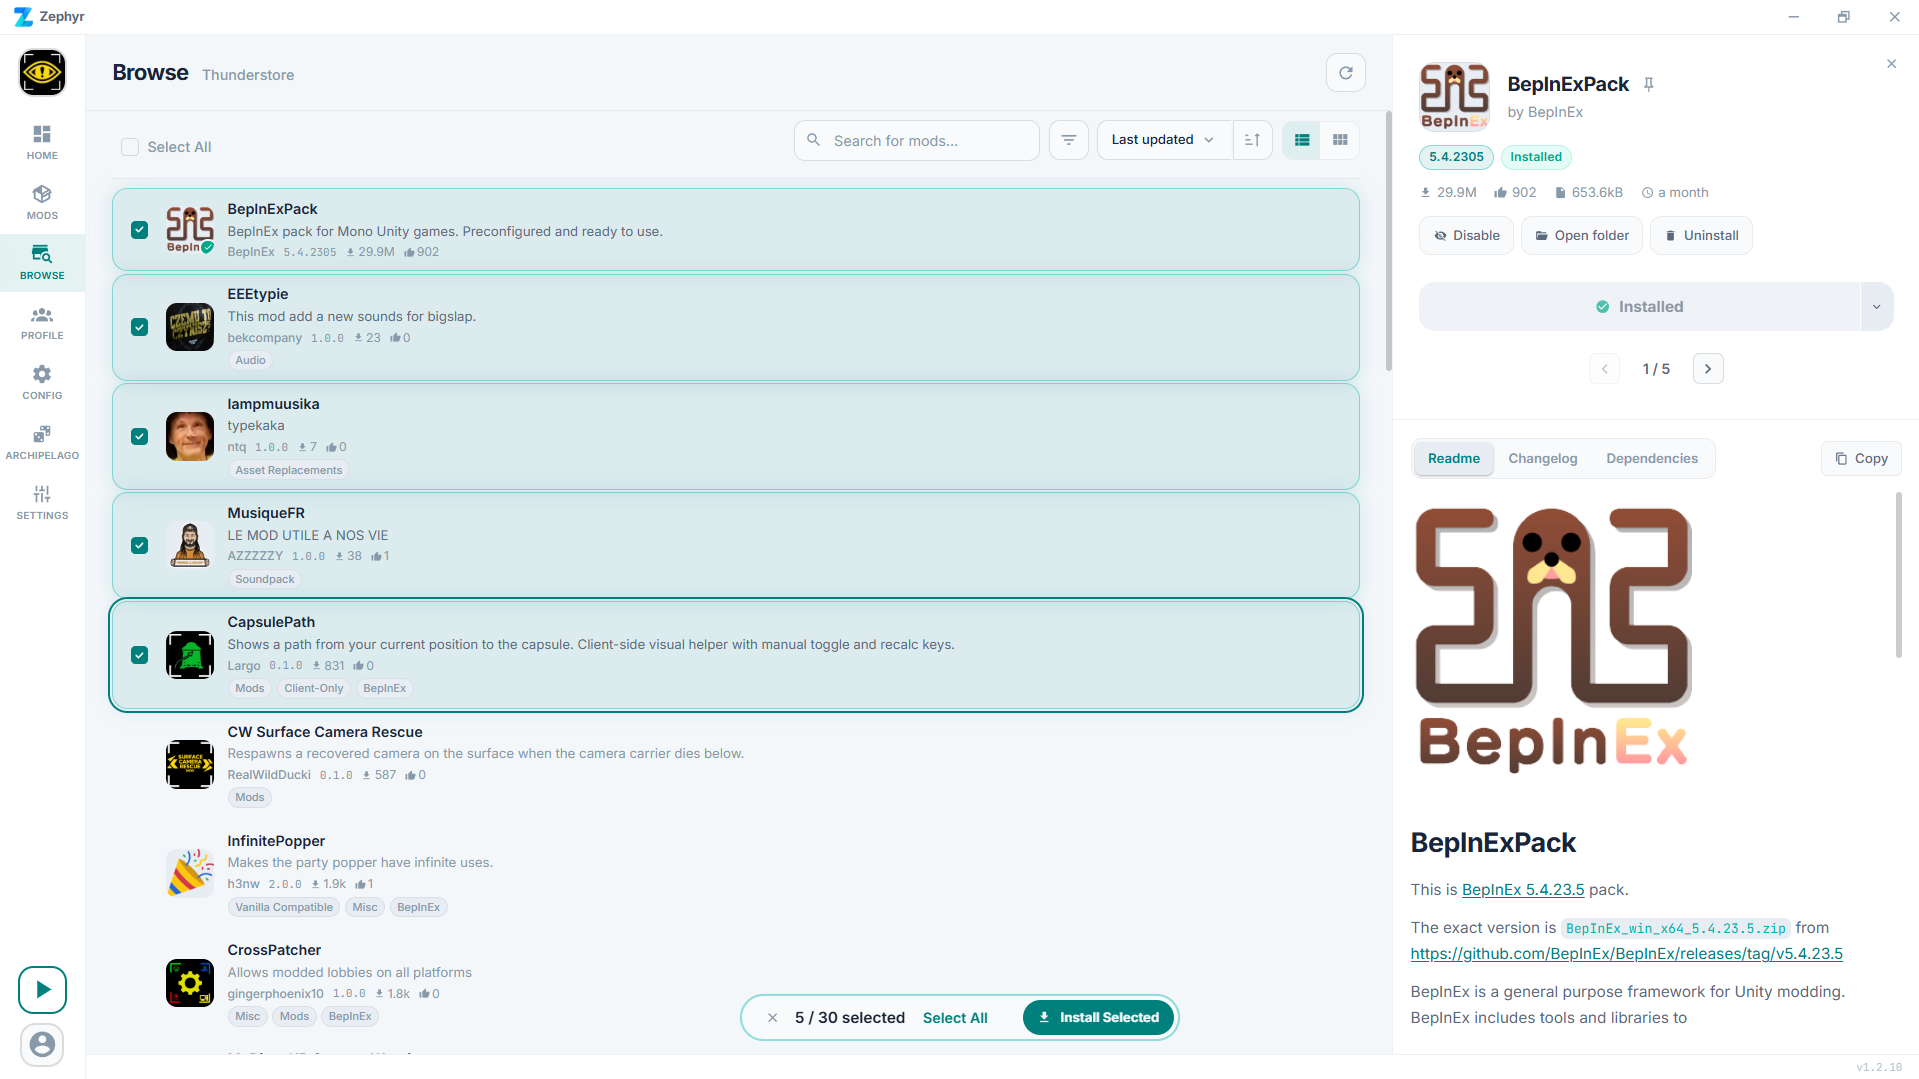
The Install button is in the panel header. Picking an older version installs that specific version instead of the latest.
Installing
When you click Install:
- Zephyr resolves dependencies.
- Downloads the package(s).
- Unpacks them into your active profile.
- Refreshes the Mods page.
If the mod has dependencies that aren't already installed, Zephyr installs them alongside.
Refreshing the catalog
Zephyr fetches mod metadata automatically in the background. The behaviour is controlled by Settings -> Miscellaneous -> Fetch mods automatically.
Importing local mods
Local mods can also be installed by passing a .zip to Zephyr through the CLI (zephyr --install <path>) or by double-clicking an .r2z profile file, which carries any locally imported mods bundled inside it.